This section is used to adjust the product details layout. Affect all items.
Products' main information is set in Shopify Admin > Products Tab.
TABLE OF CONTENTS
1 - Settings
Show Left in stock
- 'Show Left in stock at' field lets you set the point for Left in stock label appearance. The product whose quantity in inventory is equal or lower than this number will have a notice label appear on top of the page.

Dynamic Checkout button
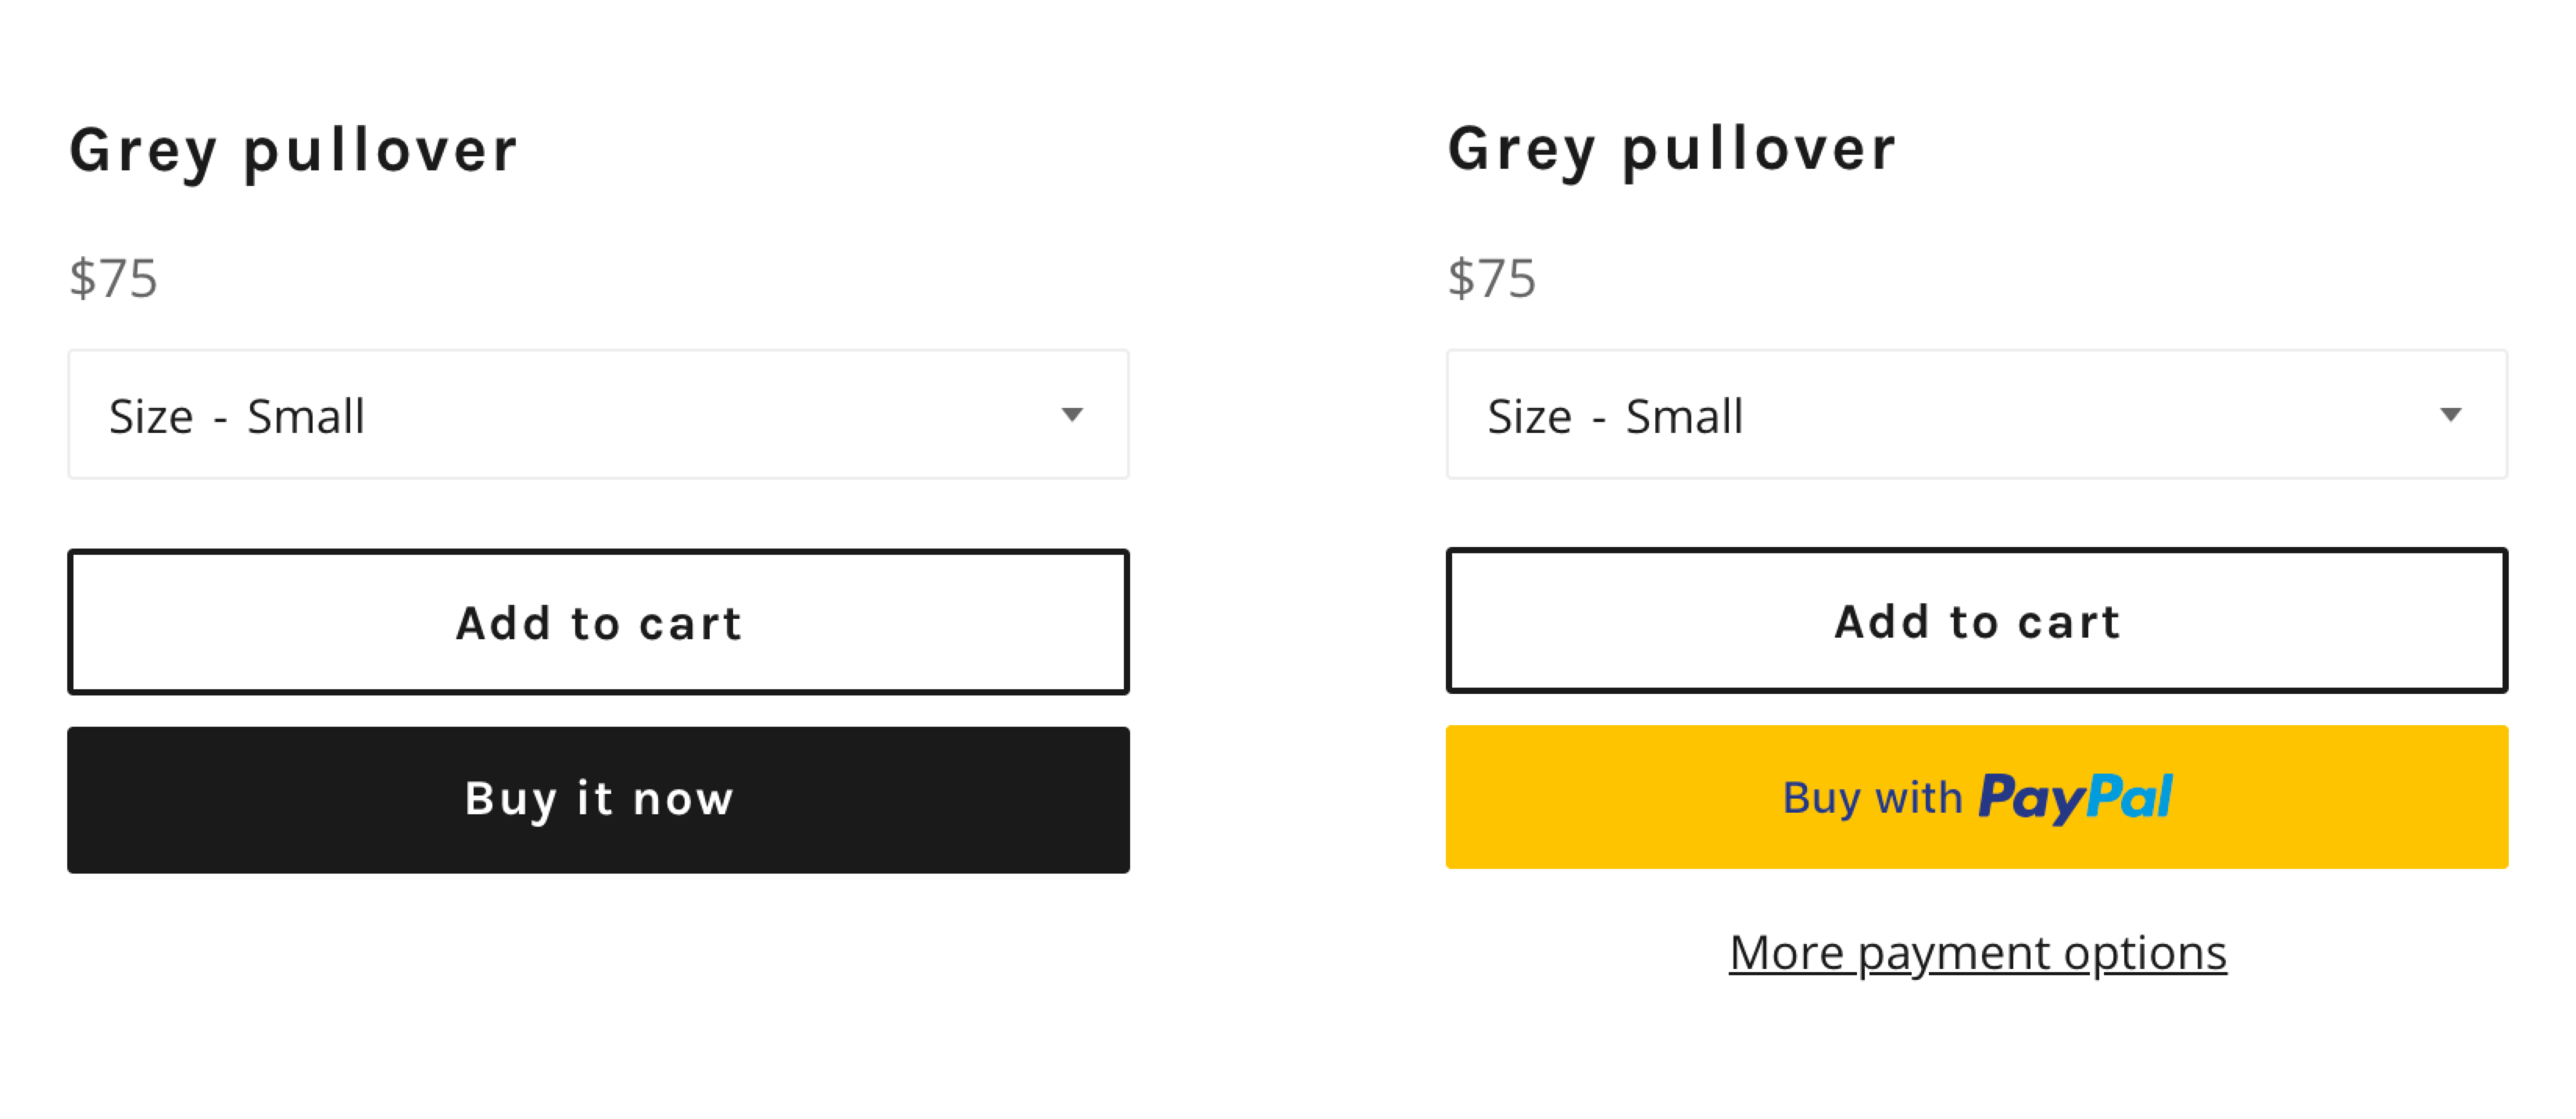
There are two different kinds of dynamic checkout buttons:
- Unbranded - These buttons display Buy it now text. When a customer clicks an unbranded button, they skip the cart and go to the Shopify checkout.
- Branded - These buttons show the logo for a third-party accelerated checkout method. When a customer clicks a branded button, they complete their payment with that accelerated checkout method.
Only the payment methods that you've enabled in your payment settings appear as options to your customers. If you don't have a third-party accelerated checkout method enabled, then only the unbranded button is displayed.The checkout method that's displayed on the button depends on a few factors:
- your payment settings
- the customer's browser
- the customer's device
- the customer's personal payment history
You can refer to this instruction for more information.
Multi Tab Settings
- We using 'Heading 5' as a tab separator. The Heading 5 title will become the Tab title and the content below will appear in that tab. Tick on the box to activate this function.

2 - Content
Static tab - Page
Static tab is created based on Page content. It's useful to add the same content for all products such as Shipping term, Size guide, etc.
To add a new page, please go to Shopify admin > Online store > Pages. You have to insert the content and choose 'page' Template suffix to get it appeared on Product pages.
This only works with products which haven't disabled the multi-tab.
- Heading: Change the tab's name. Default is the page's title.
- Insert the content by selecting an available page or create a new one.

How to insert values for your theme.
Was this article helpful?
That’s Great!
Thank you for your feedback
Sorry! We couldn't be helpful
Thank you for your feedback
Feedback sent
We appreciate your effort and will try to fix the article